Build your own with BoltSponsored
RoverKit
Build an Arduino robot car step by step in 3D
About the app
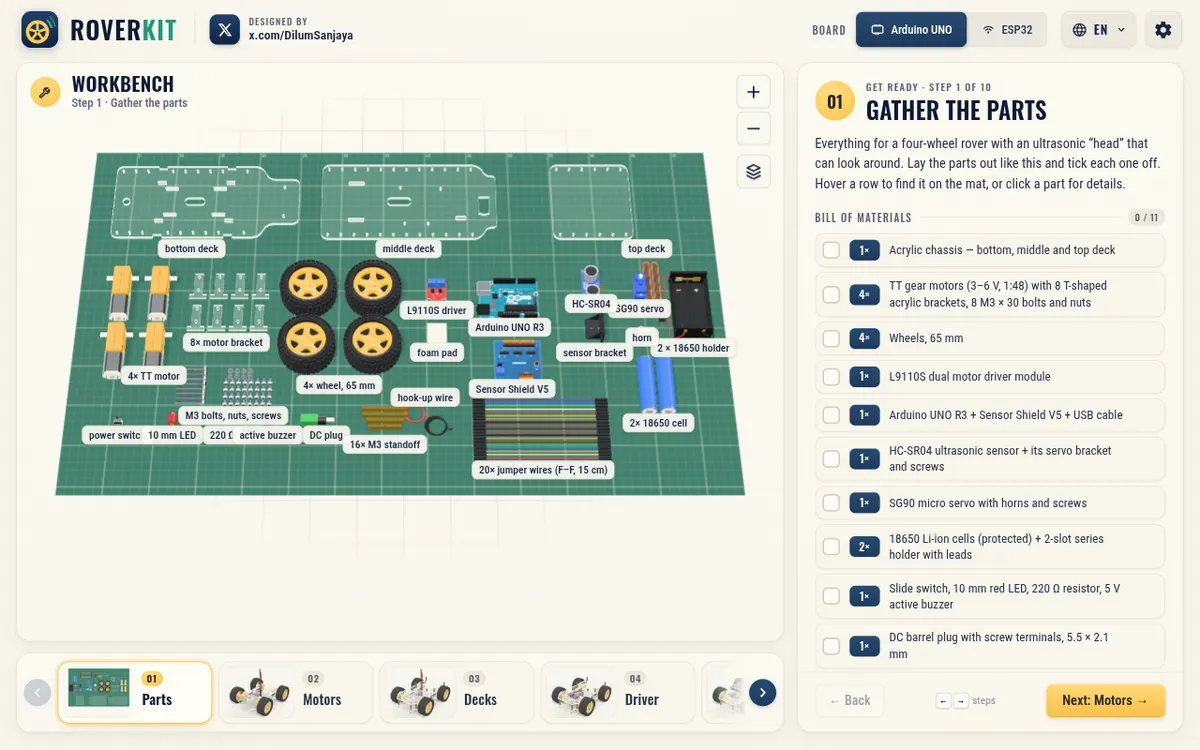
Arduino robot car guide that shows how to build a four-wheel rover with an ultrasonic sensor head, one 3D step at a time, on an Arduino UNO or an ESP32. Its 10 steps run from the parts list through motors, wiring and code, ending in a robot car simulator with a customizable arena and a visual walkthrough of the program. Built with Claude Fable 5.2; it comes from the maker of Learn Arduino and Learn ESP32.
- Maker
- @DilumSanjaya
- Built with
- Claude
- Posted
- Source
- Original post on X

What is RoverKit?
RoverKit is a step-by-step guide to building a four-wheel robot car with an ultrasonic “head” that can look around. You pick an Arduino UNO or an ESP32 board, follow the build on a 3D workbench, then drive the finished car in a built-in simulator.
What are the 10 steps?
- Gather the parts
- Motors & wheels
- Stack the decks
- Fit the motor driver
- Mount the board (Arduino UNO or ESP32)
- Sensor head
- Power
- Wire it up
- Upload the code
- Drive it
What parts does the build use?
An acrylic chassis with bottom, middle and top decks, four TT gear motors with 65 mm wheels, an L9110S dual motor driver, an HC-SR04 ultrasonic sensor on an SG90 micro servo, and two 18650 Li-ion cells, plus a slide switch, red LED and active buzzer. The board is an Arduino UNO R3 with a Sensor Shield V5, or an ESP32 DevKit V1 with an expansion board. The tools list adds a soldering iron, small screwdrivers, wire cutters, a multimeter, a Li-ion charger and a computer with the Arduino IDE.
What does the code do?
Step 9 has two sketches. A wiring test works through every part in turn so you can check each one is connected. The obstacle avoider drives until something is closer than 22 cm, looks right and left with the sensor head, and turns to the side with more room.
How does the robot car simulator work?
The simulated car carries the same parts. You drive it with WASD and stop with Space, toggle the LED, buzzer and servo, and switch to Auto to run the same routine as the obstacle-avoider sketch. The 3 × 3 m arena can be customized by placing, resizing and turning obstacles, a panel shows distance, speed, mode and servo angle, and a “How the program decides” view links each choice to its code. In settings, the Drive step can connect to a real ESP32 car over Wi-Fi instead of the simulator.
Added . Is this yours? Feature it · Report an issue.
Add a badge to your siteLinks back to this page and shows your live upvote count once it reaches 5.

HTML
<a href="https://www.promptshipped.com/app/roverkit-arduino-robot-car-built-with-claude" target="_blank" rel="noopener"><img src="https://www.promptshipped.com/badge/roverkit-arduino-robot-car-built-with-claude.svg" alt="RoverKit on PromptShipped" width="250" height="54"></a>
Markdown
[](https://www.promptshipped.com/app/roverkit-arduino-robot-car-built-with-claude)
The prompt
How was it built?
Ask for the prompt.
Built with Claude.Build your own with BoltSponsored
Not shared yet
@DilumSanjaya hasn't shared the prompt behind RoverKit. If it gets added, it shows up here with a copy button.
More like this
More apps like this
All 75 learning apps- Visit
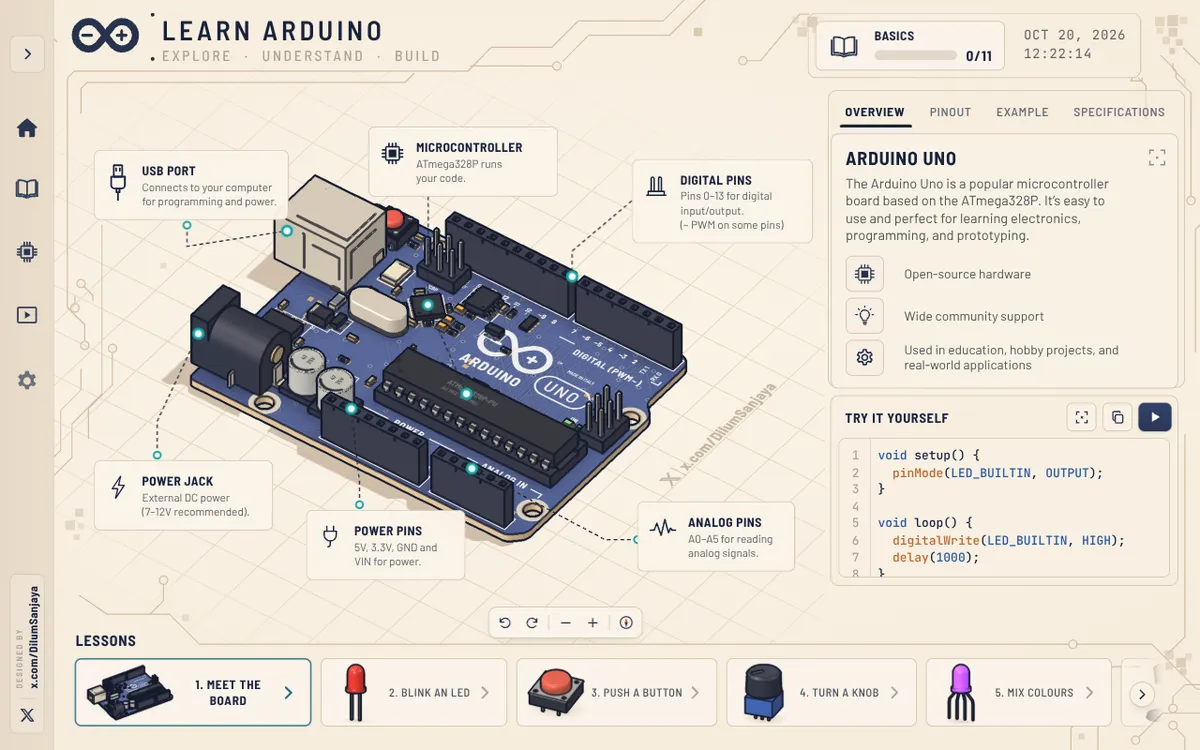
Wire and code Arduino circuits in 3D
learn-arduino-red.vercel.appBeginner Arduino course built around an interactive 3D Arduino Uno, with 16 free lessons, from meeting the board and blinking an LED to motors, servos and a final project. Each lesson labels the board's pins and parts and pairs them with example code, a run button and a serial monitor, while the 3D view can be panned, rotated and zoomed. The builder says it was made with Opus 5.5.
Claude@DilumSanjaya, - Visit
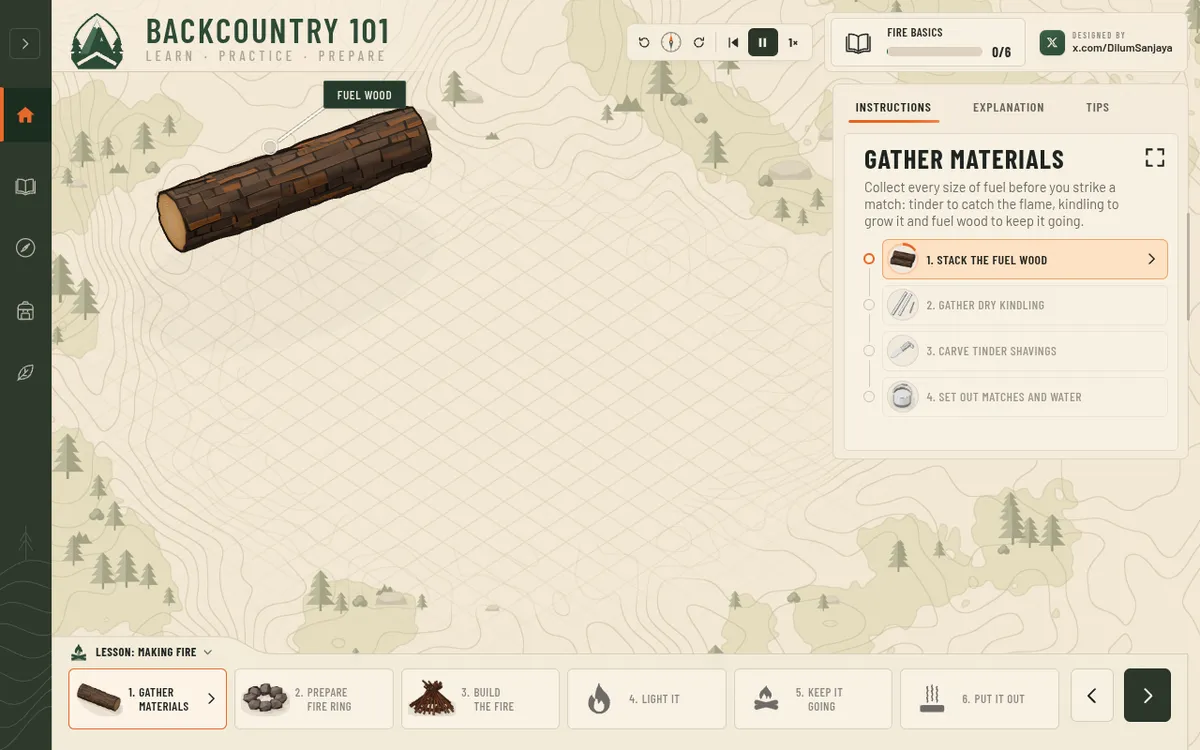
Learn survival skills step by step in 3D
backcountry-101.vercel.appInteractive 3D app that teaches basic survival skills step by step, from lighting a campfire and making a bow drill to filtering water, building a lean-to and signalling for rescue. Each lesson is split into stages with instructions, explanations and tips, plus controls to pause, rewind or change the speed. Card sets cover edible versus poisonous plants, deadly mushrooms and what to pack in a survival kit. Built with Claude Opus 5.5.
Claude@DilumSanjaya, - Visit
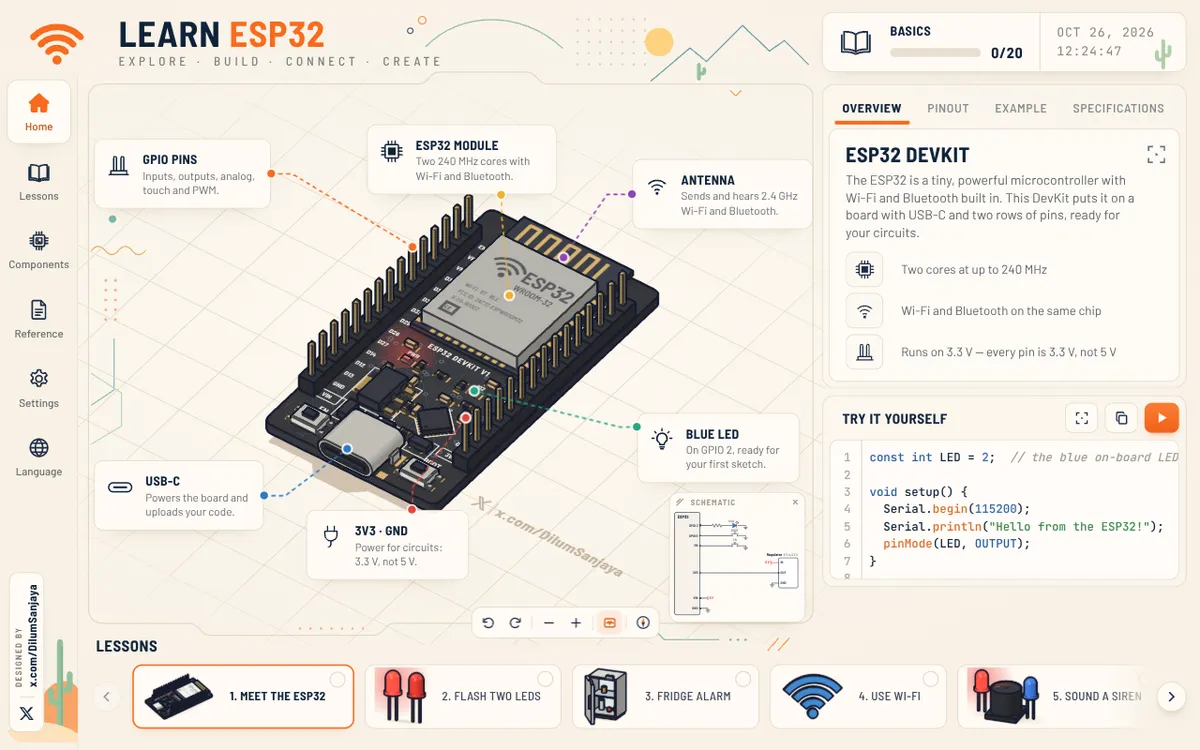
Follow an ESP32 tutorial for beginners in 3D
learn-esp32.vercel.appAn interactive 3D ESP32 DevKit board that shows beginners what the chip can do, one circuit at a time. Its 20 ESP32 lessons cover wiring LEDs, buttons, touch keys, sensors, motors, servos and steppers, then Wi-Fi, Bluetooth and ESP-NOW. Each lesson pairs a schematic with example code and a run button, and the board can be panned, rotated and zoomed. It comes from the maker of Learn Arduino.
Claude@DilumSanjaya, - Visit
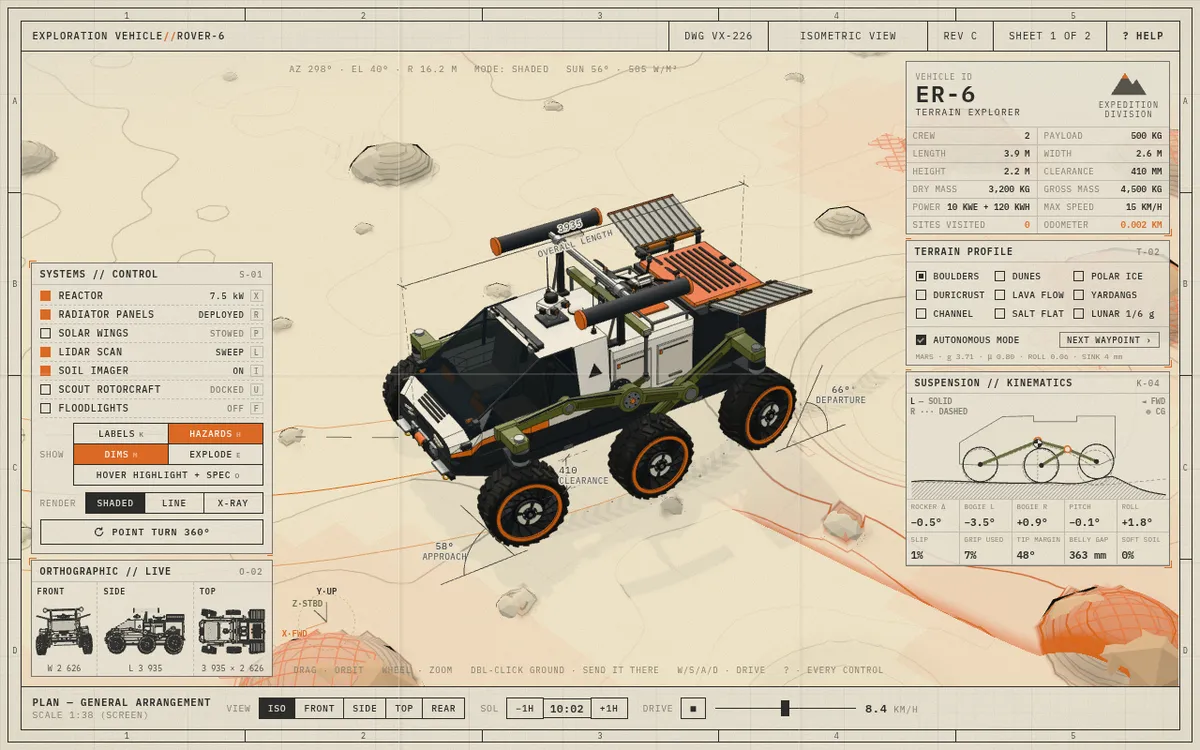
Drive a Mars rover simulator in 3D
fable-rover.vercel.appA Mars rover simulator laid out as an interactive engineering sheet: a six-wheel rocker-bogie rover finds its own way over nine terrains, from dunes, boulders and polar ice to a lunar one at 1/6 g. Switch shaded, line or X-ray views, deploy the reactor, solar wings, lidar and a scout rotorcraft, or drive it yourself with WASD. Built with Claude Fable 5.2 and three.js.
Claude@DilumSanjaya, - Visit
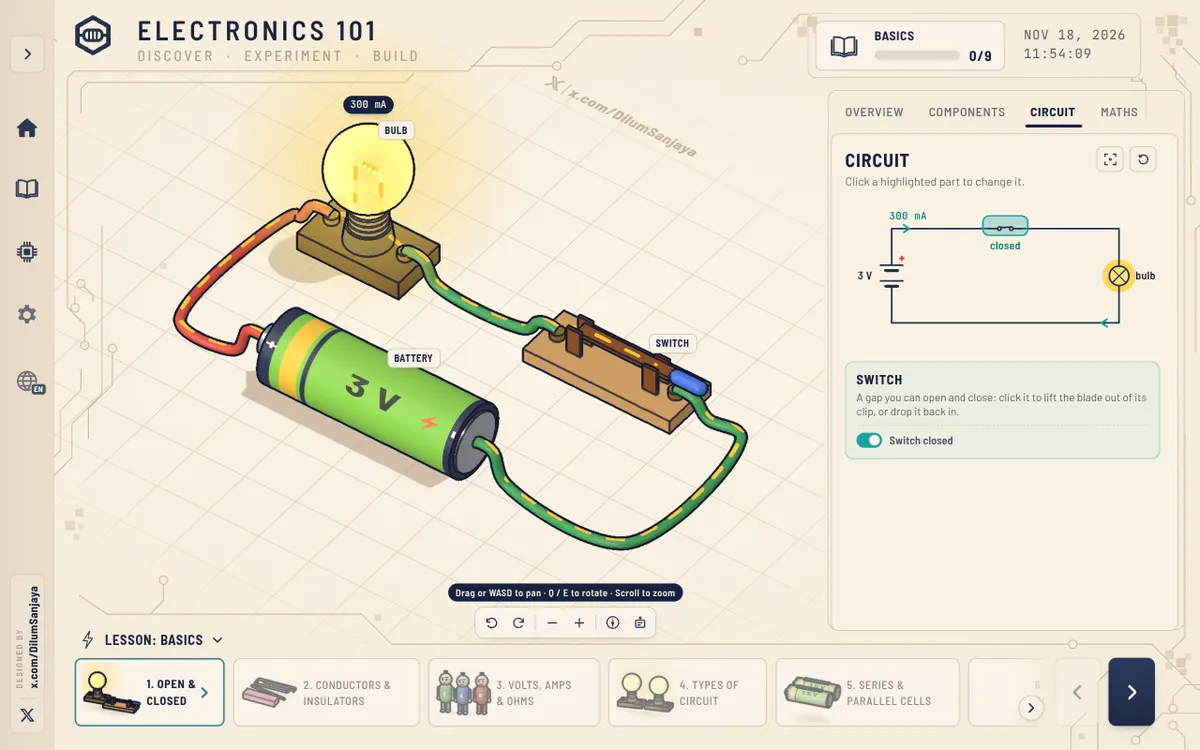
Try basic electronics for beginners in 3D
electronics-101-six.vercel.appInteractive 3D course in basic electronics for beginners, where each circuit can be switched on, its parts changed and the current watched as it flows. Lessons run in 10 modules from circuit basics, resistors, LEDs and capacitors through transistors, sensors, op-amps, the 555 timer and logic gates, each with overview, components, circuit and maths tabs. Built with Claude; the builder says it launched with 48 lessons and an update added 20 more.
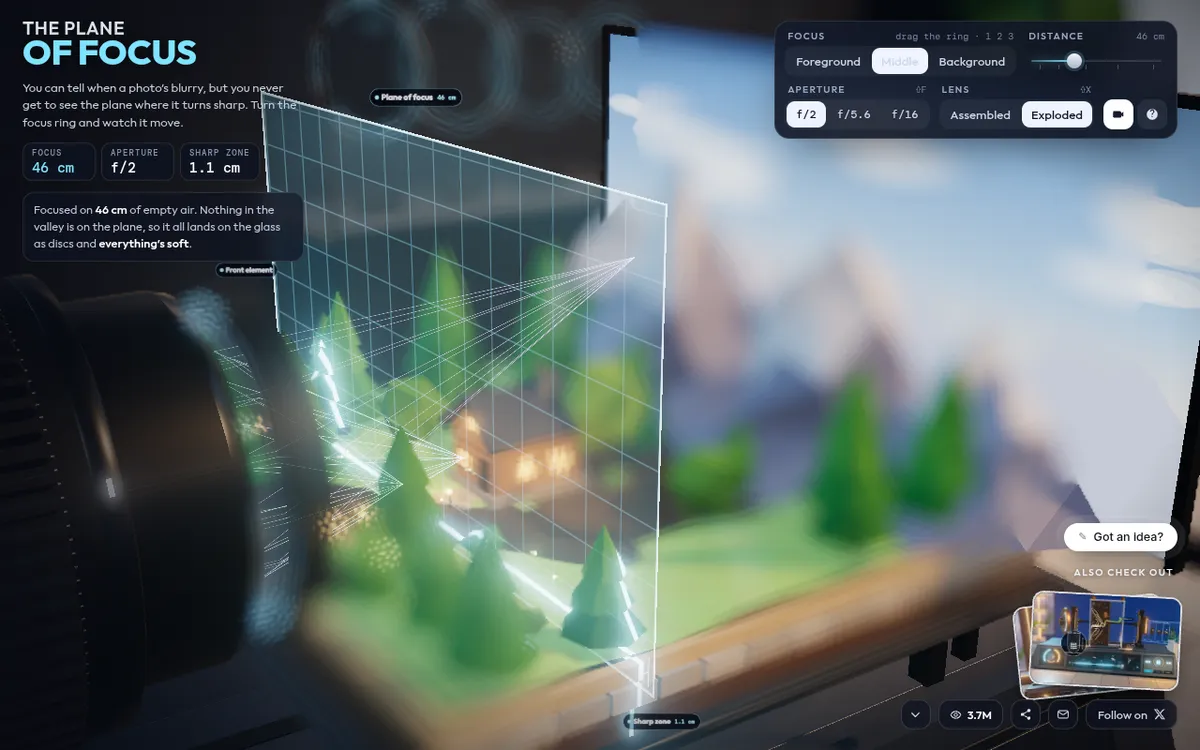
Claude@DilumSanjaya, Interactive camera lens simulator showing why photos go sharp or blurry, with the lens taken apart into its glass, focus ring, iris and image plane. Drag the focus ring or a slider and a glowing sheet sweeps through a tiny valley while blur discs grow and shrink, switch between assembled and exploded views, and orbit or zoom the scene. Made with Claude Opus 5.5 and three.js, and the builder says it now opens in AR or VR through WebXR.
Claude@RyanSael,
Show the prompt.
Add the prompt you used; it shows on your card and app page with a copy button.
The prompt
